

A money saving strategy is any deliberate habit that keeps more cash in your wallet without asking you to sacrifice quality of life. Growing your own herbs is a perfect example. Instead of paying a premium at the supermarket for tiny plastic clamshells that wilt in days, you invest a few coins in seeds or cuttings and harvest flavor on demand, month after month. In this guide you will see exactly why herbs deliver some of the highest returns on investment in the home-garden world, even if you have only a sunlit windowsill. You will learn which varieties stretch every dollar, how to set up a zero-waste indoor or balcony garden under twenty dollars, and the best practices for harvesting, storing, and tracking your real-world savings. By the end, you will be able to season dinner with plants you raised yourself and feel the financial payoff every time you bypass the produce aisle.
Why Fresh Herbs Drain Your Wallet
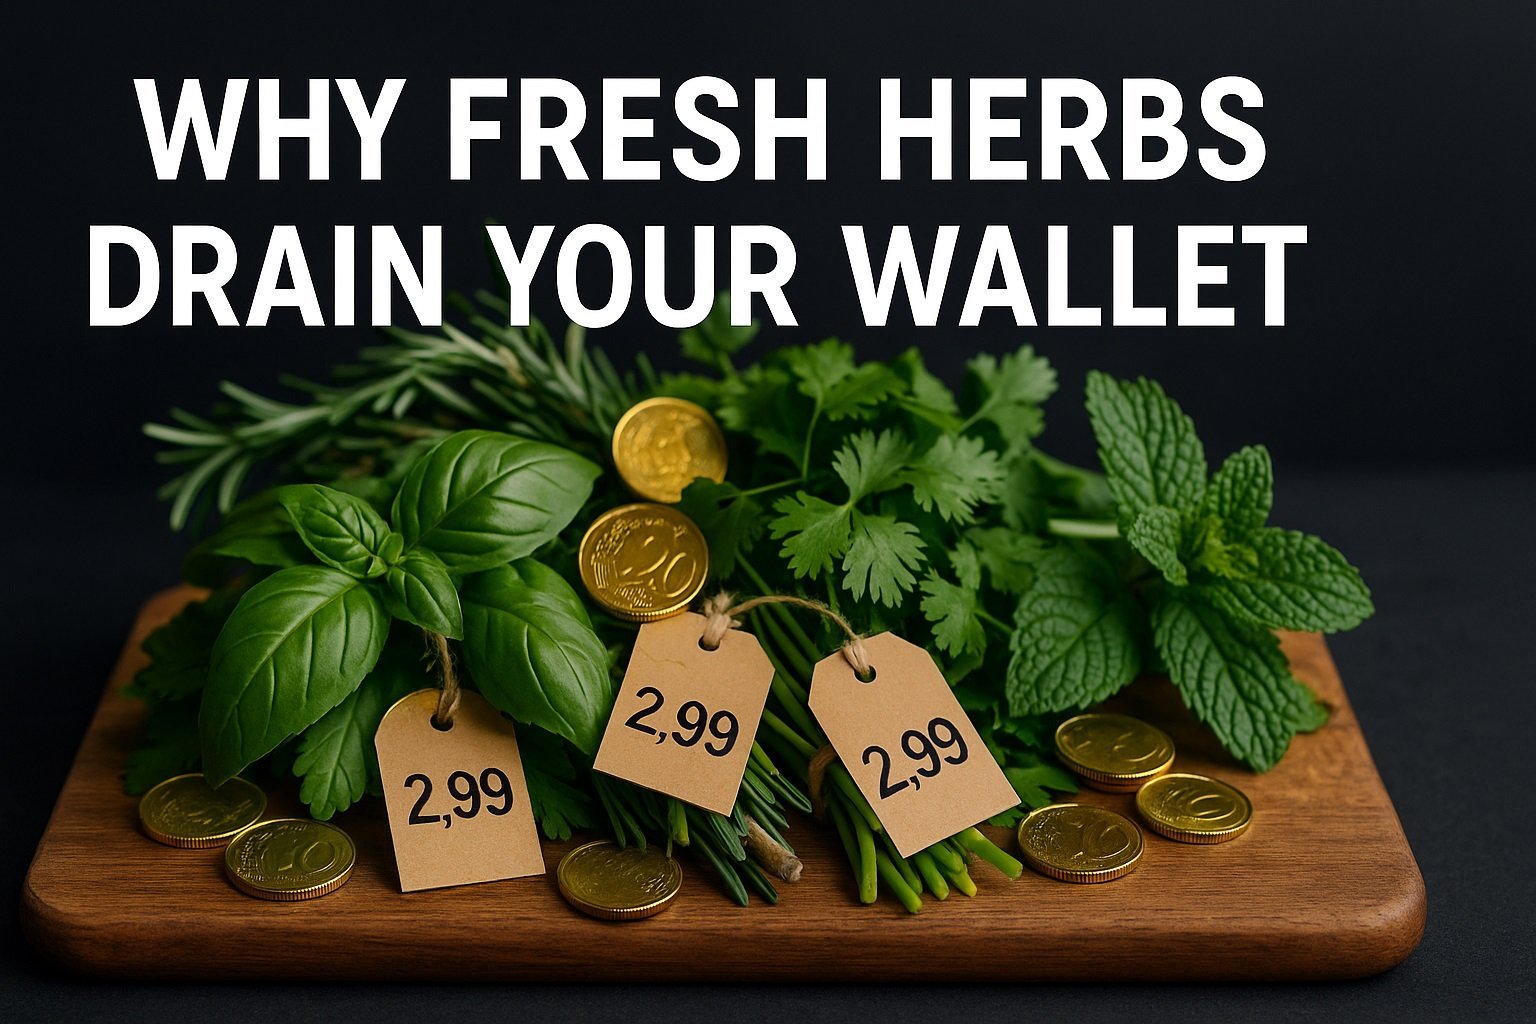
Grocery shoppers everywhere have experienced the sticker shock of fresh herbs. A single fifteen-gram packet of basil, cilantro, or rosemary can cost the equivalent of a café-style latte, yet half of that packet often turns slimy before you use it up. To understand why the supermarket model is so expensive, consider three hidden drains on your budget.
1. Production and distribution costs add invisible mark-ups
Commercial herb farms harvest at peak aroma, pack the leaves into plastic, truck them hundreds of kilometers, and rely on cold-chain logistics to keep everything from wilting. Each link in that chain adds a margin. You, the shopper, pay for every kilometer of diesel and every hour of refrigerated storage. When you grow at home those costs vanish.
2. Portion mismatch encourages waste
A typical recipe calls for a tablespoon of chopped parsley, not an entire bundle. Supermarkets sell herbs in pre-weighed portions that rarely match real cooking needs. The leftovers often lurk in the crisper until they liquefy, forcing you to repurchase before the next dinner party. A home herb pot lets you snip precisely what you need so nothing heads to the bin.
3. Flavor loss forces repeat purchases
Volatile oils are responsible for the bright punch of fresh herbs, yet those compounds dissipate quickly after harvest. By the time a store-bought pack reaches your kitchen it may have lost up to half of its aromatic potential. Cooks instinctively double the quantity to compensate, which accelerates waste and increases repurchase frequency. Homegrown leaves travel exactly zero minutes from stem to skillet, preserving full potency and stretching every harvest.
Together these factors explain why regularly buying parsley or basil can quietly drain hundreds of dollars per year. Fortunately, the economics flip the moment you plant your own seeds.
The Economics of Home-Grown Herbs
| Item | One-Time Cost | Lifespan | Typical Annual Yield | Estimated Grocery Savings* |
|---|---|---|---|---|
| Packet of basil seed | $1.50 | Three seasons | 450 g | $35 |
| 15 cm pot and potting mix | $5.00 | Three years | — | — |
| Break-even timeline | — | — | — | About three weeks |
*Savings assume store price of $3 per fifteen-gram packet of basil and an average household usage of two packets per month.
The table highlights a startling reality: after only a few weeks, your tiny basil investment pays for itself. Herbs deliver exceptional returns because they grow quickly, tolerate container life, and can be harvested repeatedly from the same plant. Even conservative estimates show triple-digit percentage gains compared with passive supermarket buying.
To calculate the impact on your own household, list the herbs you use most often and note the frequency of purchase. Multiply the annual store cost by the expected number of plants (often just one or two). Then subtract the minimal startup expenses. Most cooks discover that a windowsill garden saves enough in a single season to fund a weekend getaway or a fancy dinner that would have otherwise been spent on wilted greens.
Step-by-Step Startup Plan
Pick High-ROI Herbs
Not all herbs pay off equally. Focus on varieties that germinate quickly, thrive in small pots, and feature heavily in your favorite recipes. Fast heroes include basil, mint, chives, parsley, and cilantro. For long-term value, add the hardy perennials rosemary, thyme, and oregano. They survive winter in many climates or overwinter happily indoors, giving you free flavor year after year. Select compact cultivars when space is tight, such as Greek oregano or dwarf curled parsley.
Source on a Budget
Avoid impulse-buying mature plants at premium nursery prices. Instead, start seeds for pennies or propagate cuttings from supermarket bunches. Mint and rosemary sprigs root eagerly in a jar of water within a week. Scrounge containers from recycling: yogurt cups, tin cans, or take-away soup bowls. Just drill or poke drainage holes at the bottom to prevent waterlogging. For potting mix, a small bag of general-purpose organic soil blended with a handful of compost offers all the nutrition seedlings need for the first month.
Set Up Any Space
You only need four basic conditions for herb success: sunlight, drainage, airflow, and consistent moisture.
-
Sunny sill method – Place pots on a south- or west-facing windowsill that receives at least six hours of direct light. Rotate every few days so each side receives equal exposure and growth stays balanced.
-
Balcony or yard method – Use thirty-centimeter-deep planters to give roots room to spread. A single window box can host multiple compatible herbs such as basil, parsley, and chives. Ensure the container has drainage holes and elevate it slightly on bricks or a rack so excess water can escape.
-
Artificial light backup – If natural sun is scarce, hang a ten-watt LED grow lamp about fifteen centimeters above the plant tops and keep it on for fourteen hours daily. Modern LEDs consume less power than an old incandescent bulb yet provide the full spectrum herbs crave.
Airflow prevents fungal diseases. A small desk fan on a low setting for a couple of hours daily mimics outdoor breezes and strengthens stems. Maintain humidity around forty to sixty percent, which is typical in most homes. If your environment is very dry, group pots together on a tray of pebbles with a splash of water to raise local moisture levels without soaking roots.
Care Basics
Herbs reward minimal effort but punish neglect. Water whenever the top two centimeters of soil feel dry. Stick a finger in the mix to test rather than guessing by eye. Saturate the pot until water trickles out the bottom, then let it drain completely. Avoid the common mistake of daily sips that leave roots sitting in a constant damp state; soggy roots suffocate and invite rot.
Feed monthly with a half-strength liquid fertilizer or a homemade compost tea. Overfeeding pushes lush leafy growth at the expense of flavor, so less is more. To encourage bushiness, pinch off the tip of each stem above a pair of healthy leaves once the plant reaches ten centimeters in height. This simple habit forces the herb to branch into two stems, doubling future harvest potential.
For climbing or woody perennials like rosemary, a yearly trim in late spring prevents legginess and keeps plants compact. Inspect leaves weekly for pests. Aphids and whiteflies can be rinsed away with a spritz of soapy water (one drop of dish soap in a spray bottle). Consistent observation is the best defense; the earlier you spot trouble, the easier it is to solve.
Harvest & Storage Hacks That Multiply Savings

The golden rule of herb harvesting is the rule of thirds. Never remove more than one-third of the plant at any single session. This leaves enough leaf surface for photosynthesis so the plant can bounce back within days. Morning is the optimal time to cut, just after dew evaporates and before heat disperses essential oils.
For leafy herbs such as basil or mint, use sharp scissors and snip above a leaf node where two new shoots are waiting. For woody sprigs like thyme, pinch or cut the soft tips. Strip leaves from stems by running fingers backward along the branch. Rinse lightly under cool water, pat dry, and proceed with one of the following preservation techniques to extend value.
-
Freeze in oil or butter – Chop leaves, pack an ice cube tray half full, cover with olive oil or melted butter, and freeze. Pop out cubes and store in a zip bag. Each cube seasons a quick sauté or soup without extra chopping.
-
Air-dry bundles – Tie small bunches with cotton string and hang them upside down in a warm airy spot away from direct sun. When leaves crumble easily between fingers they are ready for airtight jars. Dried herbs concentrate flavor; a teaspoon of your own thyme equals more than a tablespoon of store-bought flakes.
-
Herb vinegar or pesto – Submerge sprigs in white wine vinegar for two weeks to create an aromatic splash for dressings, or blend basil with garlic, nuts, and oil into a freezer-friendly pesto that costs a fraction of deli tubs.
By combining continuous harvesting with smart storage, you transform a handful of seedlings into a year-round spice rack that barely touches your grocery budget.
Extra Perks Beyond the Wallet
Saving money is the headline benefit, yet the lifestyle bonuses are just as compelling. First, you slash plastic consumption. Those flimsy clamshells and twist-tie bags no longer cycle through your kitchen, reducing household waste. Second, homegrown herbs eliminate food miles, shrinking your carbon footprint and supporting a more resilient local food system.
On the culinary side, freshly snipped herbs elevate even simple dishes. A humble tomato salad sings when showered with chiffonade basil seconds before serving. This flavor upgrade often nudges families to cook at home more often, leading to additional savings by trading restaurant entrées for equally tasty homemade versions.
Gardening also delivers mental and physical health dividends. Studies link regular plant care to reduced stress, higher vitamin D levels from brief sun exposure, and improved mood. Tending a living windowsill can serve as a mindful pause in a hectic workday, grounding you in a tangible, rewarding routine.
Track Your Savings
Turning your herb hobby into a measurable money saving strategy requires intentional tracking. Create a simple spreadsheet with four columns: date, herb skipped at store, store price, and quantity avoided. Each time you reach for your plant instead of buying a packet, log the entry. At month’s end total the prices. The running sum represents cash kept in your pocket.
Many budgeting apps allow custom categories. Add one called Herb Garden ROI and treat the numbers as you would coupon savings or side-gig income. Seeing a positive figure grow inspires consistency with watering and pruning. It also provides hard evidence for skeptical friends who doubt that a pot of basil can fund meaningful expenses. After a few seasons, gardeners commonly report triple-digit savings—enough to buy additional grow lights or expand into vegetables for even bigger returns.
Frequently Asked Questions
Q1. Is it actually cheaper to grow your own herbs?
Yes. Because seeds cost pennies and plants regrow repeatedly, most households break even after two or three harvests. Savings accelerate the more often you cook, and perennial herbs keep producing for years with minimal extra cost.
Q2. Which herbs give the fastest payoff?
Basil, mint, cilantro, and chives sprout within a week and reach harvestable size in twenty to thirty days. Their quick cycle means you replace store purchases almost immediately, making them ideal starter varieties for impatient gardeners.
Q3. Can I grow herbs indoors all year?
Absolutely. Place pots on a south-facing window or use a small LED grow light for fourteen hours daily to mimic summer daylight. Maintain room temperatures between eighteen and twenty-six degrees Celsius and your herbs will thrive through winter.
Q4. What if I have only a windowsill?
One elongated planter can host three or four compact herbs. Choose varieties that stay tidy, like Greek oregano or curled parsley, and pinch regularly to prevent overcrowding. Vertical wall planters or hanging pots are other smart ways to multiply limited space.
Q5. How do I harvest without killing the plant?
Always cut above a leaf node where two baby shoots meet the stem. This technique prompts the plant to branch, effectively turning one stem into two and preserving the greenery needed for photosynthesis. Revisit the rule of thirds: take no more than a third of the total foliage at once.