Money-saving strategy is a phrase every seasoned planner has heard, but few have truly mastered. In event design, the term refers to a repeatable framework that lowers total spend without lowering audience impact. A “decor hack” is any clever workaround that stretches materials, labour, or technology so that you get more aesthetic value for less cash. When you combine the two concepts, you end up with a toolbox of techniques that protect the bottom line while raising the visual bar.
Why is this urgent? Industry research shows decor often eats thirty to fifty percent of an all-in event budget once drayage, installation labour, and last-minute runs to the craft store are tallied. Sponsors notice. So do clients. The good news is that design creativity, smart negotiation, and tech-forward thinking can slash those numbers dramatically.
In the next several thousand words you will explore exactly how. First you will learn why intelligent decor spending directly boosts return on investment. Then you will move through fifteen battle-tested hacks, each framed as a practical question, complete with step-by-step instructions and pro tips. You will finish with a quick reference worksheet so you can compare savings at a glance, followed by concise answers to the People Also ask questions clients and search engines raise most often.
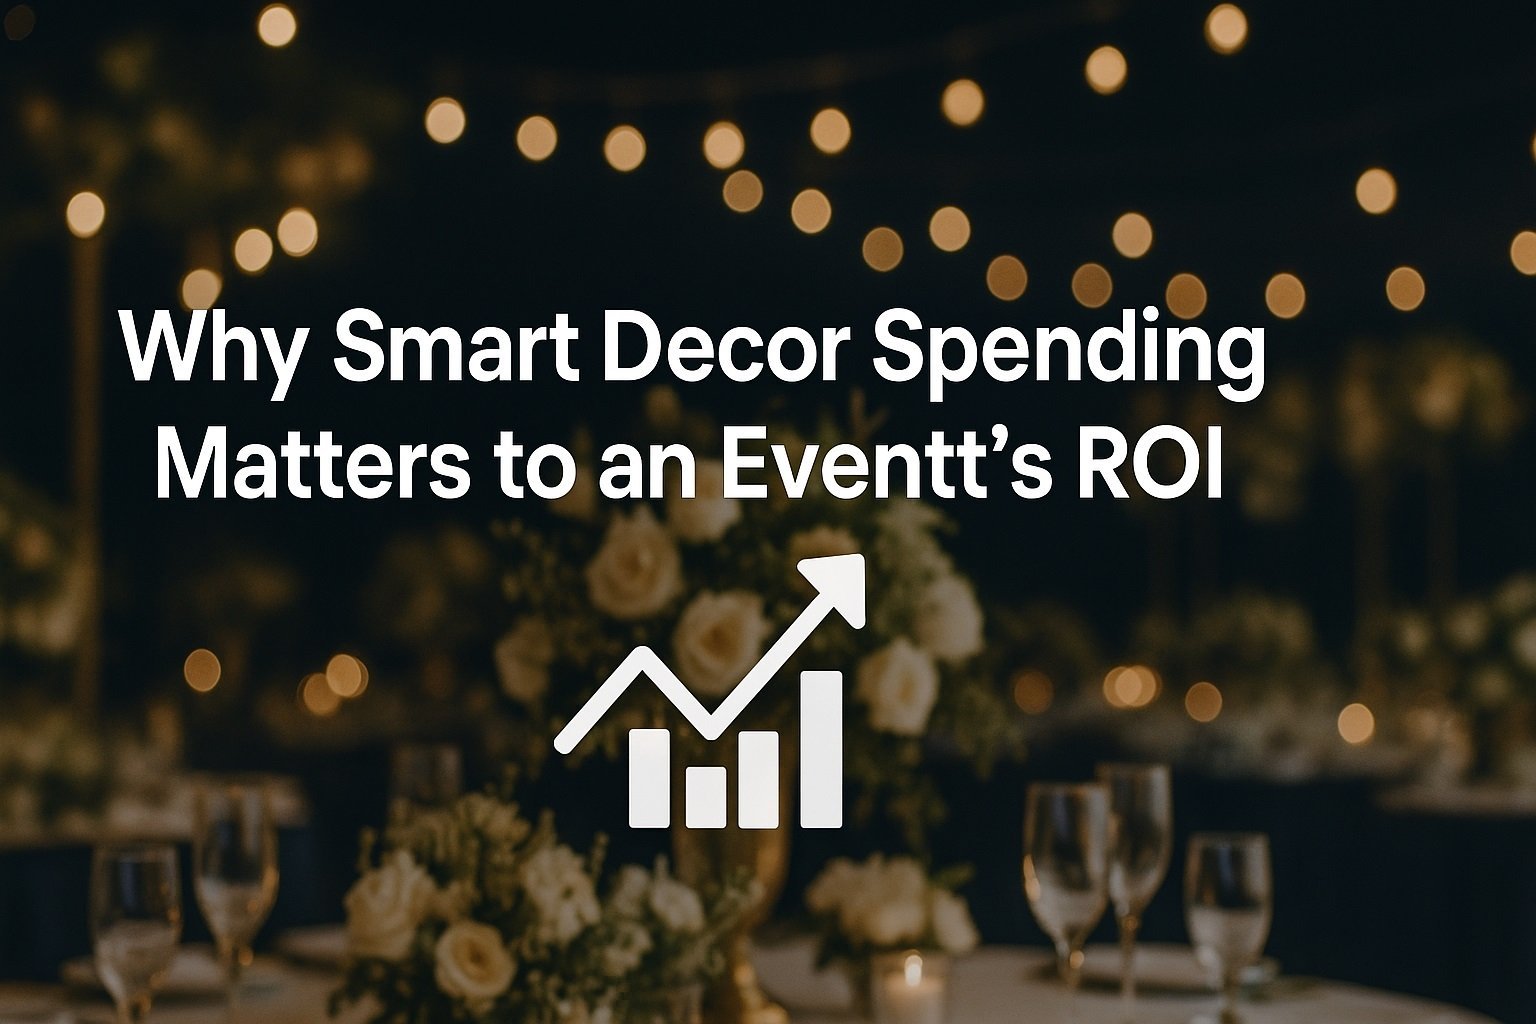
Why Smart Decor Spending Matters to an Event’s ROI
The invisible cost iceberg
Ask ten planners to list top decor expenses, and most will mention flowers, linens, and lighting. Fewer remember freight surcharges, out-of-hours labour premiums, venue damage fees, or crew overtime triggered by slow load-out. These hidden items elevate decor’s share of the budget well beyond the initial vendor price tag.
Cost-per-moment-of-delight
A simple metric brings clarity. Divide decor spend by the number of high-impact moments attendees actually notice. If you invest eighty thousand dollars in elaborate stage scenery that guests watch for a ten-minute keynote, the cost per moment of delight is astronomical. Conversely, subtle but strategic touches scattered throughout the day keep attention and Instagram uploads rolling, all for a lower aggregate price.
Brand perception and lifetime value
Sponsors and partners evaluate events on qualitative feelings: did the room embody the brand vision, encourage social sharing, and feel professional? A lean but well-curated environment signals operational efficiency, freeing budget to elevate catering or technology. Those decisions matter when clients decide who will run their repeat programmes year after year.
Sustainability and reputation
Wasteful decor strategies translate into overflowing dumpsters once lights go down. Environmentally responsible planning reduces disposal fees, pleases corporate social responsibility officers, and attracts eco-minded attendees. Financial savings and reputational equity travel side by side.
Bottom line: every cent trimmed from decor, without hurting guest experience, flows directly to profit, purpose, or program expansion.
The Budget-Smart Decor Hacks (Step-by-Step Playbook)
Each hack below starts with a common planner question, progresses through three to five actionable steps, and ends with a sidebar pro tip tested in the field. Work through them sequentially or cherry-pick what fits your current project.
1. How Can Digital Design Replace Physical Décor Elements?
Step 1 – Audit static assets
Walk the venue floorplan and list every printed board, banner, or vinyl wrap. Highlight anything purely decorative rather than directional or legally required. These are candidates for digitisation.
Step 2 – Choose the right screen solution
Small to midsize events can often swap printed signs for a network of rentable LED poster screens or large tablets in kiosk stands. Large conferences should consider a central LED wall or ceiling-mounted projection mapping system that rotates branding, session info, and sponsor ads on a timed loop.
Step 3 – Calculate the true cost
Print plus shipping plus install labour may already rival the rental price of digital displays. Factor in the added value of motion graphics, real-time agenda changes, and sponsor upsell slots. Frequently the screen wins hands down.
Step 4 – Design once, deploy everywhere
Create one motion-graphic template in 16-by-9 and repurpose it across every screen resolution. This removes the common print-shop nightmare of resizing dozens of files.
Pro tip: Set your digital canvas on a four-minute loop so sponsors see their creative fifteen times an hour. That frequency is often the persuasive data point that unlocks co-funding.
2. What Venue Features Can You Highlight for Free?
Step 1 – Scout architecture intentionally
During your initial walk-through, look up, behind, and under. Exposed wooden beams, art deco moulding, historic brick, or city-view windows often hide in plain sight.
Step 2 – Light the gems you uncover
A single LED uplight or a pair of narrow beam pin spots aimed at those features creates a focal point for pennies on the dollar compared with building a thematic facade from scratch.
Step 3 – Layer seating or decor around the focal element
By arranging lounge furniture beneath a gorgeous skylight or positioning the dessert table in front of a vintage fireplace, you invite guests to notice the existing beauty without additional spend.
Step 4 – Negotiate access early
Some venues charge extra to open floor-to-ceiling drapes or to unlock rooftop terraces. Secure those permissions in writing during contracting to avoid surprise fees.
Pro tip: Capture high-resolution photos of uncovered features during site visits. Use them in your lookbook to win client sign-off before design locks.
3. How Do DIY Centrepieces Cut Costs Without Looking Cheap?
Step 1 – Source in bulk, but split among planners
Form a micro-co-op among three to five peer planners. Buy cases of mason jars or stemless wine glasses at wholesale rates, then divide costs and storage.
Step 2 – Select one seasonal bloom
A single hydrangea, dahlia, or protea delivers dramatic volume. Pair it with two stems of greenery, and you have designer-grade texture for a fraction of a mixed arrangement’s price.
Step 3 – Add ambient light
Battery LED fairy strings coiled in the jar or tucked beneath the bloom create warmth and dimension. Rechargeable packs mean no visible wires.
Step 4 – Assemble an assembly line
Schedule volunteers or junior staff for a single two-hour build session. Provide printed instructions and mark jar fill lines with painter’s tape so every arrangement looks uniform.
Pro tip: Keep a spare tote of finished centrepieces on site. Swap in replacements for any jar that strikes the floor or discolours during a long programme.
4. Can Fabric Transform a Room on a Tight Budget?
Step 1 – Choose strategic drape zones
Full perimeter drape is pricey. Focus instead on a single statement wall behind the stage or on three ceiling swags that draw the eye upward.
Step 2 – Opt for IFR rental fabric
Inherently flame-retardant velour or poly-sateen meets fire codes and arrives pre-pleated on pipes, saving both purchase cost and labour.
Step 3 – No-sew runners and chair caps
Purchase bolts of inexpensive burlap, cheesecloth, or muslin. Tear edge strips to your desired width, then knot or clip them into place. Raw fringe adds textural interest at no extra sewing cost.
Step 4 – Wash light across the fabric
Coloured uplights transform plain white voile into brand-coordinated backdrops without dye fees.
Pro tip: Ask the rental company for mismatched lengths and end-of-life panels at a discount. You can layer them in textured cascades where minor wear is invisible.
5. What Low-Cost Lighting Tricks Create Instant Atmosphere?
Step 1 – String light canopies
Commercial-grade café strands hung in a zigzag across a courtyard define the ceiling plane and invite guests to linger long after sunset.
Step 2 – Reusable color gels
Slip $10 theatrical gels over existing PAR cans to match the brand palette. Stash them flat in an artist portfolio and reuse them for years.
Step 3 – Solar or USB fixtures for outdoor events
Mason jar solar lids or clip-on path lights charge during rehearsal and glow all evening with zero wiring.
Step 4 – Countdown dimming
Program a slow dimmer drop during the headline moment to cue audience focus without extra audio cues or MC prompts.
Pro tip: Rotate bulb wattage. Lower lumen globes closer to dining tables create intimacy, while higher output fixtures wash architectural elements.
6. How Do Modular Rentals Save Storage and Money?
Step 1 – Swap large lounge pieces for cubes
Upholstered cubes serve as seating, side tables, or risers when stacked. Transport and setup costs tumble because they nest or palletise easily.
Step 2 – Choose fold-flat frames
Decorative arches built from lightweight aluminium break down into golf-bag-sized bundles. One crew member can handle setup in minutes.
Step 3 – Negotiate multi-event contracts
Vendors prefer guaranteed recurring revenue. Offer a three-event rental package up front in exchange for a fifteen percent discount and reduced damage waiver fees.
Pro tip: Photograph how pieces interconnect and keep copies in your show binder. Quick visual references cut teardown time and overtime labour.
7. Where Can Nature Double as Décor?
Step 1 – Forage responsibly
In rural settings, obtain landowner permission to clip branches, seed heads, or ornamental grasses. The material cost is zero, and guests love locally sourced touches.
Step 2 – Partner with a plant nursery
Most nurseries rent mature potted trees to stage homes during real estate showcases. Offer them logo placement on menu cards in exchange for free or discounted rentals.
Step 3 – Build a living wall
Square-foot panel systems snap together and hold interchangeable potted plants. After the event, break apart and return or donate the greenery.
Step 4 – Plan the donation workflow
Coordinate with hospitals, shelters, or community gardens. Prearrange pickup windows so florals avoid the landfill and you earn a tax receipt.
Pro tip: label every planter with a discreet tag indicating pickup location and schedule. This prevents mix-ups and keeps volunteers efficient.
8. How to Repurpose Décor from Ceremony to Reception?
Step 1 – Map dual-purpose items
List ceremony aisle markers, arch florals, and welcome signage. Draw arrows on a floorplan showing where each will live during reception.
Step 2 – Prep quick-release mechanics
Attach florals with heavy-duty magnets or Velcro so the crew can detach in seconds. Pre-tie fresh ribbon at the new installation site to avoid frantic searching.
Step 3 – Sequence the turnover team
Assign two staffers per decor zone with walkie-talkies. One leads guests to cocktail hour while the other relocates pieces.
Step 4 – Rehearse the move
Time the transfer during rehearsal. A ten-minute swap executed flawlessly is the difference between seamless magic and chaotic shuffle.
Pro tip: Capture B-roll of the live flip for marketing reels. Clients love seeing operational excellence.
9. What Community Resources Reduce Costs?
Step 1 – Join local prop libraries
Cities worldwide host volunteer-run decor exchanges where you can borrow lanterns, linens, or easels for a small membership fee.
Step 2 – Schedule thrift runs during discount cycles
Many charity shops rotate colour-tag markdowns weekly. Mark calendar reminders to align shopping trips with fifty percent off days.
Step 3 – Launch a nonprofit swap
If a formal library does not exist, build a Google Sheet of inventory among planners, photographers, and stylists. Barter usage in exchange for cross-promotion.
Step 4 – Track condition diligently
Use QR code stickers that link to a checkout form. Accountability keeps relationships smooth and inventory usable.
Pro tip: Offer to photograph thrift store decor in real event settings. Stores then showcase your images on social media, funnelling new customers your way and cementing partnership status.
10. When Does “Less Is More” Save The Most?
Step 1 – Adopt minimalist design principles
Focus on clean lines, generous negative space, and one theatrical focal element rather than many competing props.
Step 2 – Spotlight the signature item
Invest in an oversized floral chandelier or branded neon sign. Because all eyes gravitate there, you can scale back peripheral decor drastically.
Step 3 – Reallocate freed budget
Money not spent on secondary objects can upgrade the focal piece’s quality, lighting, or interactive features, amplifying perceived luxury.
Pro tip: Perform a “ten-foot test”. Stand ten feet away in all directions. If clutter distracts from the centrepiece, edit ruthlessly.
11. How to Leverage Brand Partnerships for Sponsored Décor?
Step 1 – Identify alignment
Match decor needs with sponsor product categories. Beverage companies may underwrite bar backdrops; tech firms may cover charging lounge furniture.
Step 2 – Draft a value exchange
Quantify logo impressions, social tags, and audience demographics. A one-page prospectus opens doors faster than vague asks.
Step 3 – Secure contract clauses
Include production timelines, artwork approval deadlines, and cost-share percentages. Clarity prevents scope creep.
Step 4 – Activate on site
Place small tent cards or interactive QR call-outs near sponsored elements. Subtlety keeps the room classy while meeting brand goals.
Pro tip: Offer post-event analytics. A simple deck with engagement stats encourages repeat sponsorship and incremental decor funding next cycle.
12. What Timing Tricks Slash Vendor Fees?
Step 1 – Target off-peak dates
Weddings dominate Saturdays and summer months, leaving weekday or shoulder-season slots ripe for negotiation. Many decor vendors discount twenty percent or more for Tuesday installations.
Step 2 – Consolidate freight windows
Ship decor items to arrive on the same truck. Venues often charge per delivery. One consolidated drop can save hundreds.
Step 3 – Book early, adjust late
Reserve rental inventory six to eight months out at current rates. Most companies allow quantity changes until two weeks before the event, insulating you from high-season price hikes.
Step 4 – Leverage cancellation clauses
If forced to move dates, reschedule within the vendor’s rebooking window to retain deposits.
Pro tip: Keep a shared Gantt chart of every vendor timeline. Visual overlap alerts you to potential overtime hours that can be trimmed with better sequencing.
13. Which Reusable Signage Tactics Work Best?
Step 1 – Choose erasable mediums
Chalkboard frames, acrylic sheets with wet-erase markers, or magnetic menu boards update instantly between event segments.
Step 2 – Design modular inserts
Create brand-neutral frames that hold printed cardstock inserts. Swap only the paper, not the hardware, from event to event.
Step 3 – Protect and store
Wrap boards in moving blankets, then slide into upright wardrobe boxes. Proper packing avoids repaint fees.
Pro tip: Keep a portable label printer on hand. Instant stickers cover minor typos without rerunning an entire print job.
14. Can Balloon Installations Be Luxe Yet Low-Cost?
Step 1 – Plan shape and palette
Organic arches with variable sizes feel upscale. Select a gradient of three related colours plus one metallic accent.
Step 2 – Use air pumps instead of helium
Helium costs fluctuate, and balloons deflate faster. Air-filled garlands last for days, cutting refresh labour.
Step 3 – Secure with fishing line and wall-safe tape
Create clusters on fishing line, then attach with removable mounting tape that leaves no residue.
Step 4 – Add faux florals or greenery
Inexpensive silk leaves tucked between balloons raise perceived value exponentially.
Pro tip: Finish edges with balloon tape strips containing pre-punched holes. This viral hack speeds up arch assembly by almost fifty percent.
15. How Does Technology (AR or VR Mock-ups) Prevent Costly Mistakes?
Step 1 – Choose a free or low-cost app
Tools like SketchUp, Social Tables, or Planner 5D let you import floorplans and drag and drop decor elements.
Step 2 – Scan the space
Many smartphones create accurate LiDAR room scans in minutes. Upload to your design software for precise placement.
Step 3 – Secure stakeholder sign-off
Email a shareable link or host a Zoom screen share. Virtual walkthroughs catch sightline issues or scale mismatches that trigger expensive last-minute reorders.
Step 4 – Use mixed reality on site
AR overlays projected through a tablet help the install crew position stage props exactly, shaving hours of alignment time.
Pro tip: Archive final 3D files. For repeat events you can duplicate layouts, update branding, and provide clients a clear cost comparison between years.
Quick-Reference Budget-Impact Worksheet
| Décor Hack | Estimated Cash Outlay | Time Investment | Impact Rating (1-5) | Potential Savings % |
|---|---|---|---|---|
| Digital design screens | $1,500-$6,000 | Medium | 5 | Up to 30 % vs. print |
| Highlight venue features | $200-$500 | Low | 4 | 15% |
| DIY centerpieces | $3 each | High | 3 | 25% |
| Targeted fabric drape | $7 per linear foot | Medium | 4 | 20% |
| String lighting | $0.75 per foot | Low | 4 | 12% |
| Modular rentals | $45-$75 per piece | Low | 3 | 18% |
| Foraged greenery | $0 | High | 3 | 35% |
| Ceremony-to-reception flip | $0 | Medium | 4 | 10% |
| Community resources | $25 annual fee | Medium | 3 | 20% |
| Minimalist focal design | Variable | Low | 5 | 15% |
| Sponsored décor | Negative cost | Medium | 5 | 40% |
| Off-peak vendor timing | Variable | Low | 2 | 10% |
| Reusable signage | $40 per frame | Low | 3 | 15% |
| Balloon installations | $0.12 per balloon | Medium | 3 | 18% |
| AR-based previews | $0-$30 | Medium | 4 | 8% |
Note: Percentages reflect cumulative savings when compared against industry average full-price equivalents.
FAQ
| Question | Concise Answer |
|---|---|
| How can event planners save on décor without sacrificing style? | Prioritise one high-impact focal element, leverage venue architecture, and repurpose items across multiple event segments. |
| What are affordable centrepiece ideas that still look elegant? | Single-stem bud vases, mirrored tiles with candles, or potted succulents that double as
|